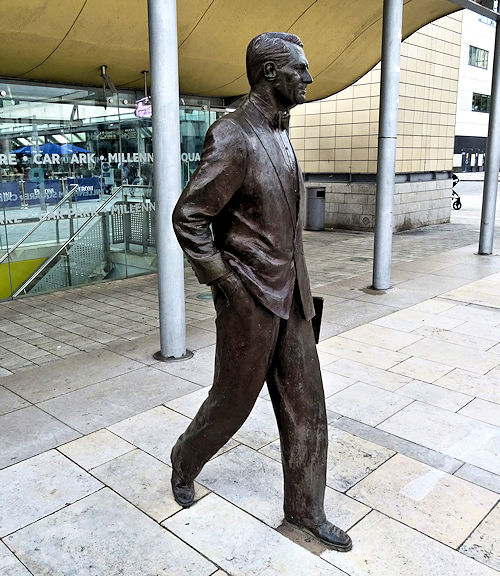
Who would expect that Bristols’ Millennium Square (in western England) would be home to a statue of Hollywood legend, and heart-throb, Cary Grant. The reason, of course, is that he was born in the city in 1904. Later, at just 16 years old, he left for the United States of America with a local acting troupe. He subsequently decided to stay and forge a career in Vaudeville, and later Hollywood acting (see his Wikipedia page for a full biography).
Cary Grant acted and starred in many plays and movies, but he is particularly well known for starring in a number of Alfred Hitchcock classics: one of those was To Catch A Thief, the script to which the sculpture holds in his left hand. According to carygrant.net it was sculpted by Graham Ibbesson after a public campaign. And according to Visit Bristol, the sculpture was unveiled in December 2001 by his widow Barbara Jaynes. It’s a wonderful life-size sculpture and this is a 3D scan of the whole thing.
Quick summary of this 3D creation
Overview: A basic scan of a cast metal statue of Hollywood legend Cary Grant.
Location: Millennium Square, Bristol, western England, United Kingdom [map].
Date/era: Modern, 2001.
Software used: Sony 3DCreator Android app, Nomad Sculpt Andoid app, Meshmixer, Blender.
Intended use: 3D printing, preferably in a resin printer to retain detail.
Download: MyMiniFactory page.
The scan was made with the brilliant Sony 3DCreator app on an Xperia XZ2 smartphone in four parts: the head, the upper body, the legs and the left hand holding the script. Obviously it would have been nicer to have been able to scan the whole work in one go, but of course a smartphone app has some limitations. For example, 3DCreator wasn’t able to properly scan the left hand together with the upper body, requiring it be scanned separately (the script was too thin to scan so was melded in later).
Also, the smooth metallic surfaces, often with little detail, meant the app often had difficulty working out the shape, including missing that there’s a gap between the top of the legs and between the knees. However, the four scans had enough of the shape captured to allow me to assemble them in the excellent Nomad Sculpt app on an Android tablet. You can see the finished sculpted scan in the screenshot below.
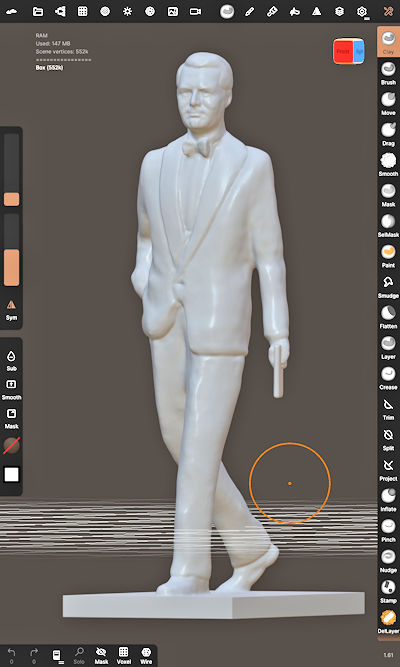
As 3DCreator doesn’t capture the actual dimensions of objects, it was obviously a bit of a chore to get the four scans scaled, rotated and translated to the finished assembly. But it was well worth the effort as, once assembled, I was able to voxel-merge the individual parts into a resemblance of the statue. From there it was simply a case of using the clay and smooth brushes to remove excess ‘material’, and sculpt missing areas in the scans, using some photos for reference. Having a pressure sensitive stylus for the tablet made that a lot easier than it could have been, and was the main reason behind my choice of the tablet for sculpting.
I also used the crease brush, set to a small radius, to bring out the thin lines on the surface of the statue: such as the edges of the suit which would otherwise be too minimal to come out in a 3D print. I then transferred the model to a PC where Meshmixer was used to re-mesh it to a smaller file size. I used the sharp edge preserving setting with that, to ensure the minimum of detail was lost. Meshmixer was then also used to rescale the model to about 70mm high, which I judged a good size for displaying on a shelf. Finally, Blender was used to add a new base. You can see the result of all that work on Sketchfab below (click the play button to load the model and view it in 3D).
Obviously I could have 3D printed the model in my ‘normal’ fused-filament printer, but for a small model that would have meant losing most of the fine details. So instead I decided to print it using Elegoo water-washable resin on my new Anycubic Photon Mono SE SLA printer. The result you can see in the photo below, which I think turned out quite well. The detail could have been better using normal resin, or using a 4K SLA printer, but overall I think the reduced hassle of water-washable resin more than made up for the slight softening of edges.

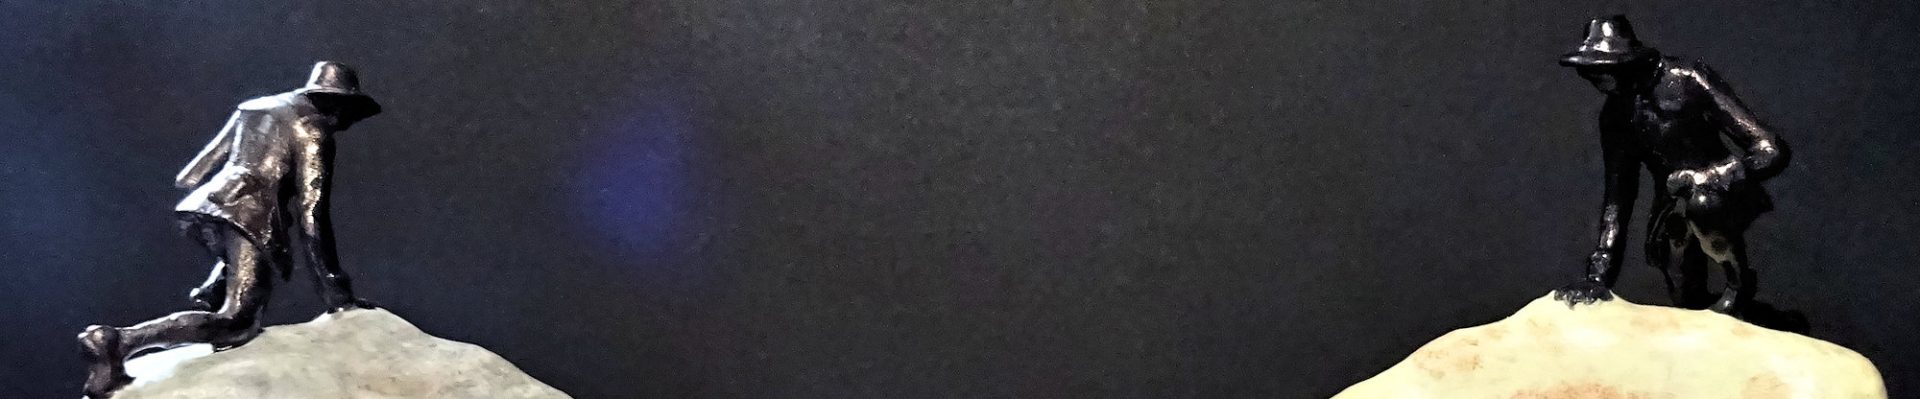
The next step was, of course, to decide how to paint the model, after applying a coat of The Army Painter brush-on primer to help paint adhere well. If you’ve read my page about the Women of Steel sculpture in Sheffield you’ll have noticed I’ve been playing with ways to get a good bronze effect on small models. So for Cary Grant I decided to try out another new technique: painting with Humbrol bronze model paint, then brushing out when the paint was still tacky to try to create those areas of brighter metal around details. You can see the result in the middle of the photo below.
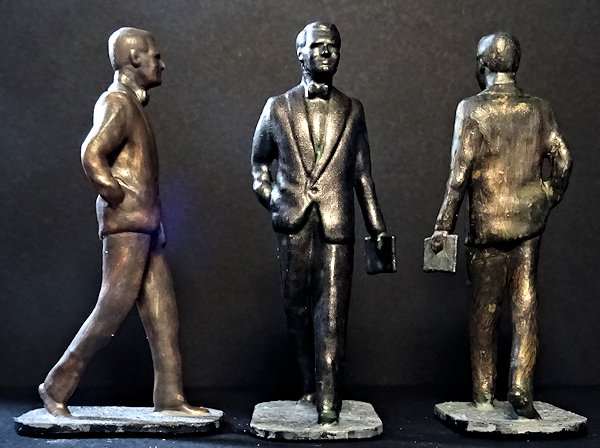
I think that worked quite well, but I also decided to try using one of the techniques I tried for the Women of Steel. Basically, that meant first painting a coat of The Army Painter weapons bronze. Then I applied a very diluted wash with The Army Painter wash medium and some of their dark grey paint, plus a bit of the weapons bronze mixed in for good measure. After painting that over the top, and leaving it to dry, I was able to rub it with some strong paper kitchen towel, exposing some of the bright bronze around details.
Overall, I think that was the better method for this project at 70mm high, and you can judge the results yourself on the left and right of the photo. Both versions were also given a coat of Citadel Technical Stormshield clear-coat to reduce shininess. Bronze sculptures are actually a lot shinier than they can seem in real life, but on small models I find the gloss from bronze paints can be a bit overpowering. So fortunately I’ve found that Technical Stormshield reduces it to a more pleasing miniature effect.
So finally, in case you’d like to use the methods in this project for your own work, let’s recap on what was involved:
- The Sony 3DCreator Android app was used to create basic 3D scans on a smartphone, which provided a fairly good representation albeit with loss of some sharp details.
- Four scans were made: one for the head, one for the upper body, one for the legs and one for the left hand.
- Nomad Sculpt was used on an Android tablet to remove excess digital material, repair scan defects, merge the four scans and sharpen edges.
- On a PC Meshmixer was used to solidify/remesh the model to achieve a much smaller file size without losing too much detail.
- Blender, also on a PC, was then used to add a new base.
- The finished 3D model was then test printed in resin, and found to print to an acceptable quality.
- The test prints were then painted to give two different bronze-effect finishes.
- Due to the amount of detail in the final model, fused-filament printing is probably best avoided unless printing to a large scale.
Please note that this scan is provided without any license for commercial use. It is intended simply as a model of a famous Hollywood star you can have the fun of printing yourself. And of course it is intended to be a motivation for you to visit beautiful Bristol, including Millennium Square to view the sculpture.


