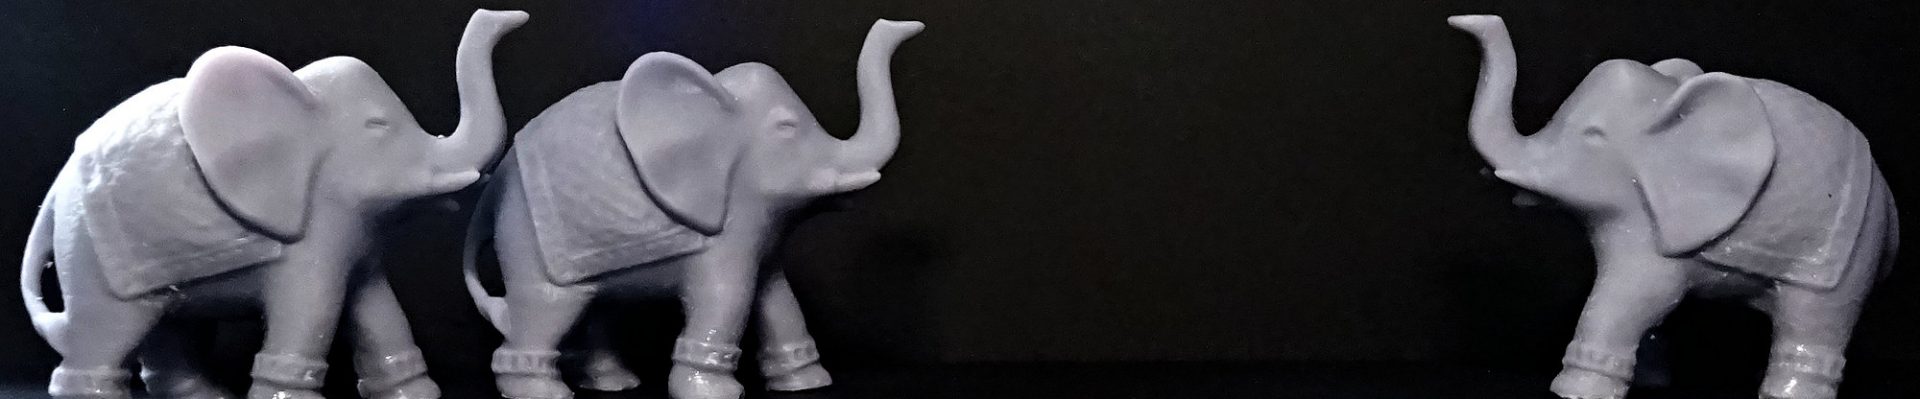
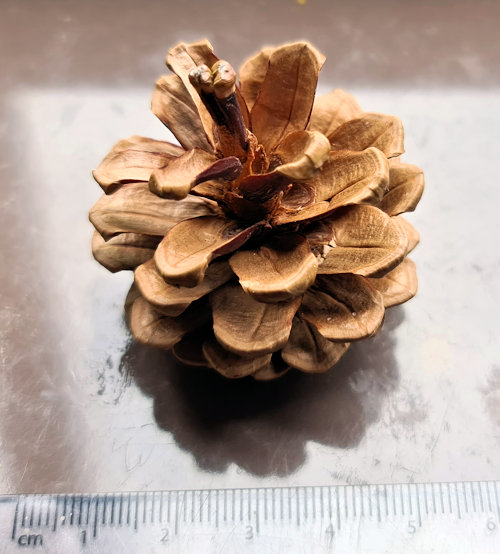
I’ve written other posts about successful 3D scans I’ve made with the Revopoint Pop scanner (e.g. an elephant ornament and a small stone). If you’ve read those posts you’ll know that I’m quite pleased with the Pop for scanning small objects on a turntable. But, as we all know too well, 3D scanners don’t always work well with the objects we want to scan. So I decided to make a scan that took the Pop to its limits, in terms both of size and unusual shape. After a bit of hunting around for something suitable I settled on a small (c. 40mm wide) pine cone I’d found on a walk in the woods. Here’s a photo of what it looked like (spoiler alert: the scans looked nothing like this).
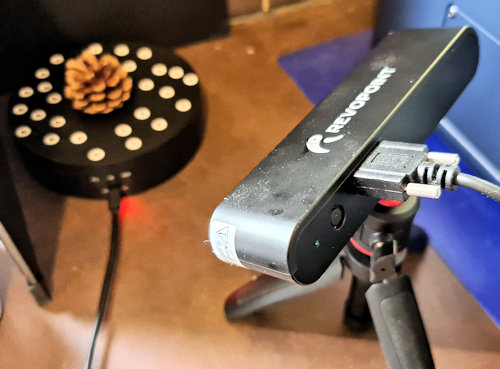
As the pine cone can basically be considered a number of small parts stuck together, the shape should pose problems for the Pop, as it can’t cope well with features smaller than around an inch. For that reason I decided to put the Pop on a small tripod, which was packaged with it, and use my small USB-powered turntable to prevent jitters in handheld scanning confusing the test. Below is a photo of the setup. However, I should also mention that the pine cone was relatively light in colour, and well textured, so I did have some hope that it would manage a useful scan.
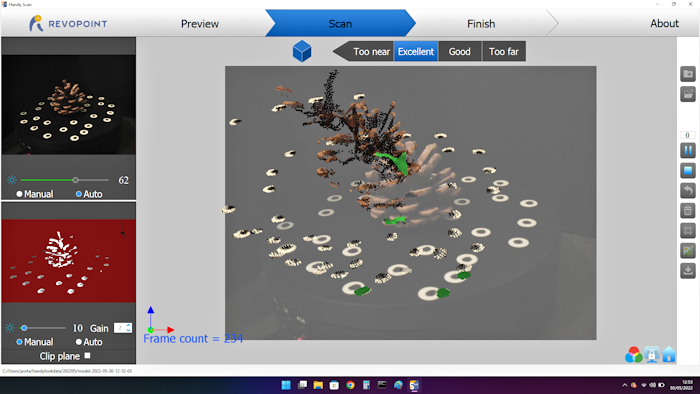
In the Revopoint 3D scanning software I started a new scan, using the feature detection mode and colour texturing. I did that for two reasons, the first being that there should be plenty of features on the pine cone to allow the software to properly track the topology. Secondly, it would have been difficult to stick markers all over it. As the screen shot below shows, the software did detect some of the pine cone at the start, but quite soon it lost it’s tracking (as shown by the “Miss track” notification).
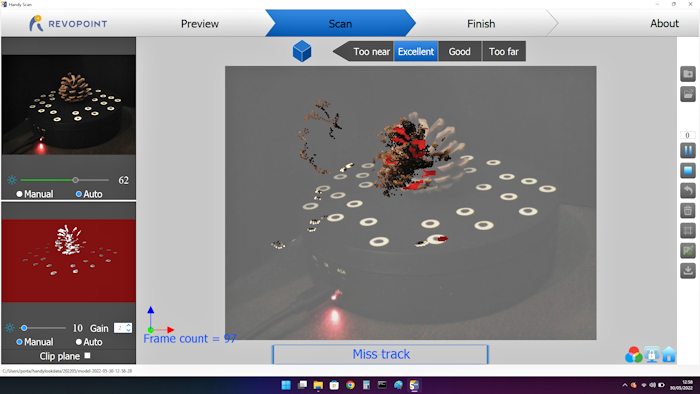
I was fairly surprised by the loss of tracking, as there are many features. But I guess that the problem was that the features were too small. As you can see above, I set the colour camera to auto gain so it could adjust the image as it saw fit for feature detection. I’d also adjusted the depth camera gain to ensure that the ‘leaves’ of the cone were being detected. Anyway, after a while I gave up, with the (not very good) result shown in the screenshot below.
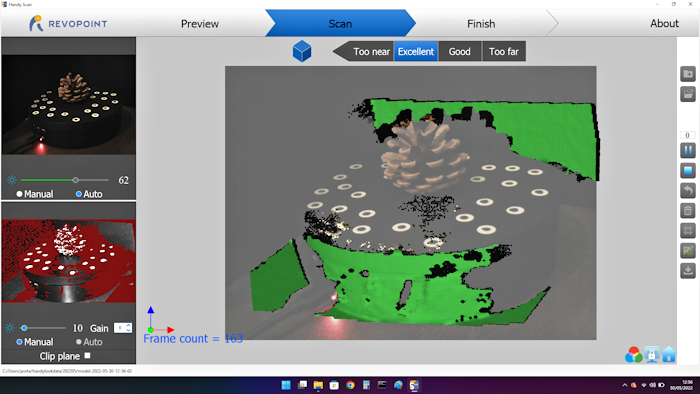
Although it seemed the scan would be an abject failure I didn’t give up completely at that point. After all, I have successfully scanned a small stone of a similar size, albeit without anywhere near as complex a surface topology. So I decided to try scanning in dark mode, in case the brown of the wood-like surface was causing issues. Below is a screenshot of my results doing that: basically the scanner started picking up all the surround dark areas, but didn’t see the pine cone at all.
So that’s the outcome of the test: the Revopoint Pop can’t scan a very small pine cone! Of course, I must say that it wasn’t unexpected, in fact I was trying to find the limits of 3D scanning with it for my own uses. And in that respect the test was a success, and I now have a better idea of what will, and what won’t, scan well with the Pop. And I hope you find this post useful for understanding what the limitations are too.


