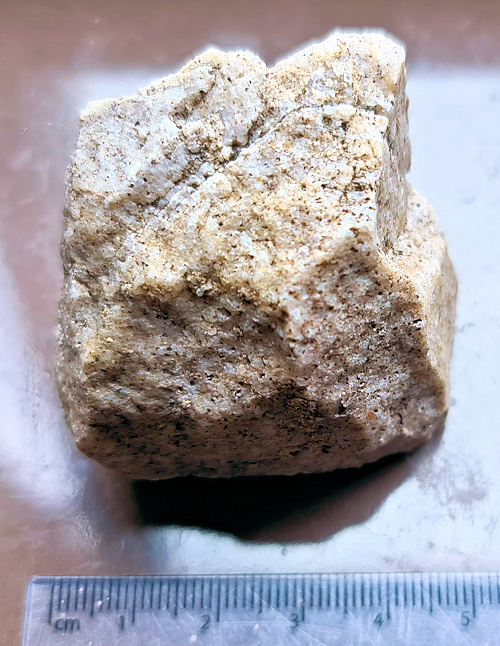
If you’ve read my previous post about using the Revopoint Pop 3D scanner to make a model of an elephant ornament you’ll know that the scan quality is pretty good. However, that post only covered scanning the topology for 3D printing, so without any texture. So I thought I’d write a post about my experience of scanning a small stone with added texture. When I say small, I mean the stone was around 50mm square, which is quite small for 3D scanning. Also, as you can see in the photo below, the surface is quite finely detailed, with many small speckles. So overall it seemed like an excellent subject for challenging the Revopoint Pop’s texturing abilities.
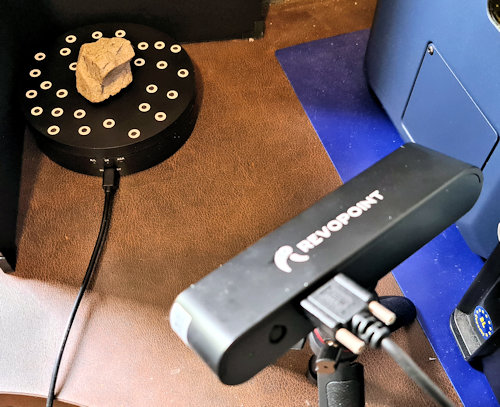
As with the elephant scan I used the feature detection scanning mode, as I didn’t want to cover the stone in markers that would obscure the surface details. However, when starting the new scan I set the Pop software to capture colour, so that it would create a texture image to accompany the topology. Also, as you can see below, I set up the scanner on a tripod and used my small USB-powered turntable, as I didn’t want the results affected by problems due to hand-scanning.
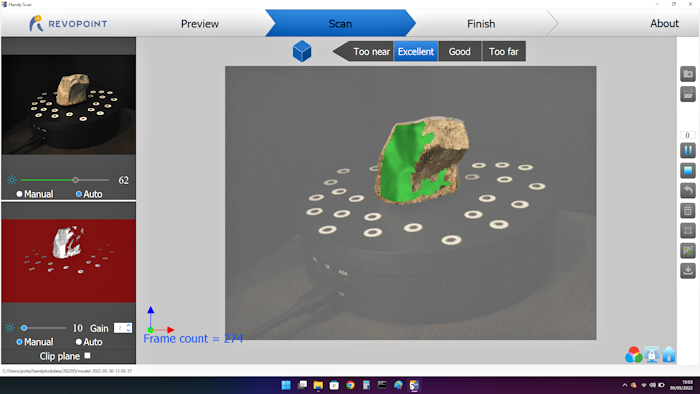
With the turntable set to a fairly slow speed I then started the scan in the Revopoint Pop scanning software. The amount of texture on the stone surface, together with the complex shape, meant that the software had no trouble scanning or reconstructing the topology. I paused the scan a few times to re-orient the stone, to get a good scan of the whole thing, including the bottom. I’ve put a screenshot below of the scanning software in action. As the screenshot shows I set the colour camera mode to auto, so the software could decide on the level of gain required to get a good texture. However, for more refined scanning you can adjust the gain to your tastes using the manual mode.
Having completed the scan I then meshed it using the Revopoint Handy Studio software that comes with the scanner. From there I saved it in a number of formats including coloured-per-vertex PLY and as an OBJ file with a JPEG texture image. You can see the result of all that work, with the captured texture, on Sketchfab below (click the play button to load the model and view it in 3D).
I’ve put the texture image the Revopoint software saved below: I reduced it from 2048×2048 pixels down to a quarter of the resolution to display in this post, but it gives you a good idea of what to expect from the software outputs.
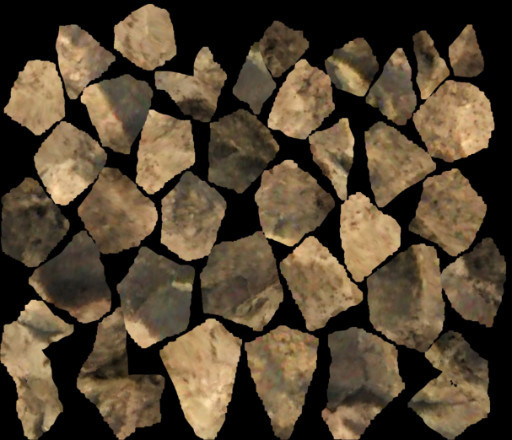
Of course, the image above doesn’t completely answer the question of how good a textured scan is for a small scan of a stone. But, I think it does show that the completed scan does at least look like a stone. Zoomed in, however, I found that the texture lacked all the little flecks of colour, and overall the texture was more like a blurred image of the stone’s surface. I’ve put an image below of part of the texture without reducing the resolution, so you can see for yourself.
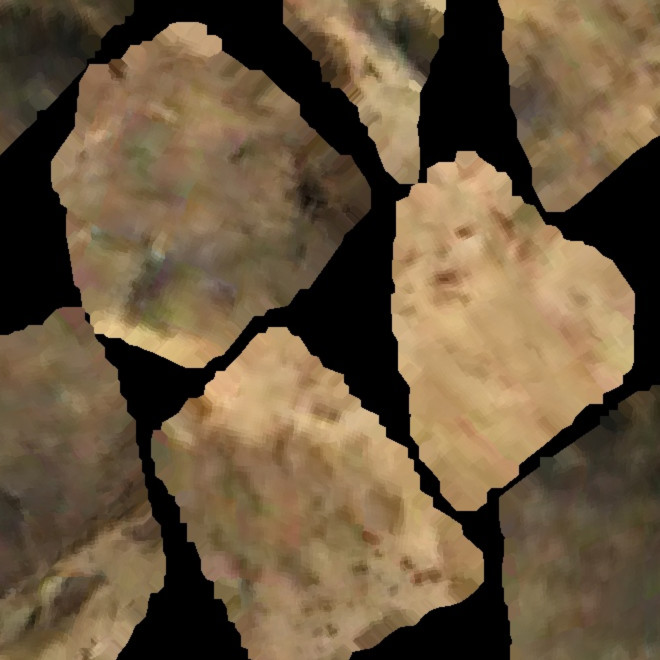
So, am I happy with the quality of the texture I got from the Revopoint Pop 3D scanner? Well, I think for most purposes I’m quite happy with it, although it’s obvious that fine details aren’t likely to be preserved in Pop scans. However, I’m personally not overly unhappy mostly because I don’t want to use the scanner to accurately document scanned objects. And, of course, this was a small and very detailed scan, which I expected to be challenging for the Pop.
So overall I think the outcome is that textures captured by the Pop are a good representation of the look of the scanned subject, but are unlikely to satisfy for usage scenarios that require detailed details. For your own uses for a 3D scanner you’re obviously the best judge, but I hope this post has given you some idea of what to expect.

